
We’ll walk you through the brining process, no matter how experienced or inexperienced you are in the kitchen.
We’ll also tell you how long your bird should soak to get the most taste and moisture. With our expert tips and tricks, you’ll be ready to impress your guests and be the star of Thanksgiving dinner. Start brining like a pro!
Related Posts:
- How To Brine A Turkey In A Bucket? (All You Need To Know!)
- Can You Brine A Turkey For 48 Hours : The Ultimate Brining Guide
- How Long Is Too Long To Brine A Turkey (The Perfect Duration)
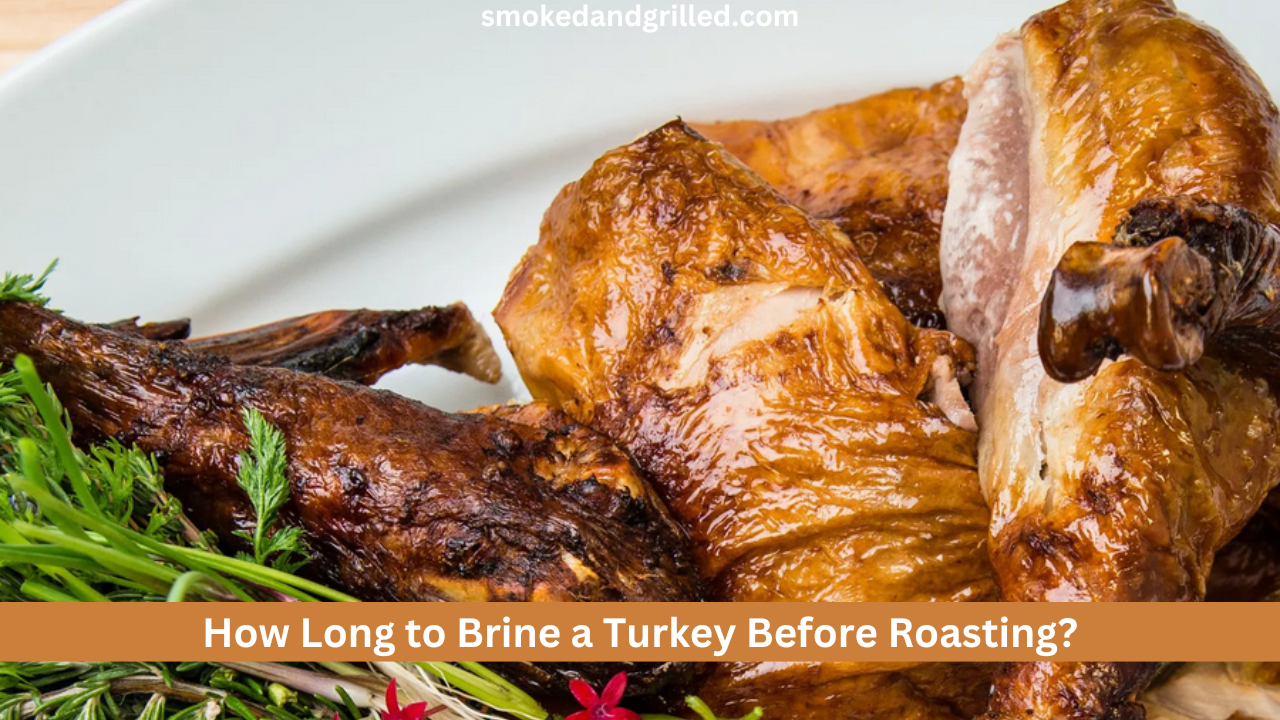
How Long To Brine A Turkey Before Roasting?

Time is very important when brining a turkey before roasting it.
The best time to brine a turkey is between 12 and 24 hours.
For a perfectly brined turkey, try to brine it for about 1 hour per pound.
So, if you have a 12-pound turkey, the best results will come from cooking it for at least 12 hours.
Remember that your patience will pay off with a tasty display for your holiday meal.
During the time that the turkey is brining, it soaks up the savory mixture, which gives it delicious tastes.
So, plan ahead, show your turkey the love it needs, and let it soak in brine for the perfect balance of taste and texture.
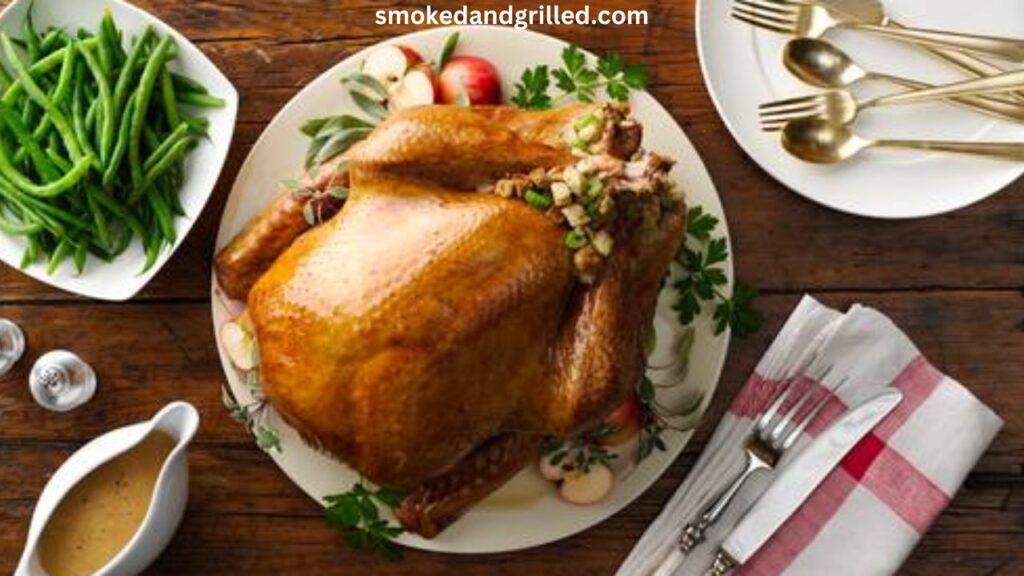
Should You Brine Turkey Before Roasting?
Absolutely! Brining is the step you shouldn’t skip if you want to make a turkey that’s juicy, tasty, and just plain delicious.
Imagine a properly roasted turkey with skin that is golden and crispy and meat that is so tender it almost falls off the bone.
Not only does brining make the meat taste better, but it also helps the meat keep its wetness, so it doesn’t dry out when it’s cooked.
So, whether you’re new to the kitchen or have been cooking for years, brining is the secret to making your turkey taste even better.
Get ready to impress your friends and make a feast that everyone will remember and want to eat again and again. Don’t leave out the salt; your taste buds will be grateful.
What Are The Basics Of Brining A Turkey?
Are you ready to learn how to brine a bird and make a masterpiece? Follow this step-by-step guide to the basics of soaking, and you’ll be ready to make some delicious food.
1- Mix Up Your Salt
Mix water, salt, and sugar to make a base that has taste. Try adding extra things like herbs, spices, and fruits for a stronger flavor.
2- Put The Turkey In Water
Put your turkey in a big container or brining bag and make sure it is completely covered in brine. Start the magic!
3- Soak And Chill
Usually, you should put the turkey in the fridge for 12 to 24 hours. This lets the tastes soak into the meat, making it perfectly tender and juicy.
4- Rinse And Dry
After soaking, wash the turkey well to get rid of any extra salt. Use paper towels to pat it dry to get that crispy skin that everyone wants.
5- Cook And Enjoy
Get your turkey ready to cook, and then let the oven do its thing. Get ready for a feast that will make your mouth water and make everyone want more.
If you know how to brine, your turkey game will go to a whole new level. Get ready to wow your friends and make holiday memories that will last a lifetime. Learn how to brine like a pro and enjoy the tasty results!
What Are The Factors Affecting Brining Time?
When brining, the right time is everything. There are a number of things that can affect how long you should brine your turkey for the best taste and texture. Here are the main things to think about:
1- Size:
The longer the turkey needs to brine, the bigger it is. About 1 hour per pound of turkey is a good rule of thumb.
The amount of salt to water in your brine affects how long it takes to pickle.
Less time is needed for a stronger brine, while a softer brine may take a bit longer. If you want a stronger taste, you might choose to brine the meat for a longer time.
Try different things to find the right mix.
2- Personal Preference:
In the end, what you want in terms of taste and feel is a big factor. Some people like a quicker brine for a more subtle flavor, while others like a longer soak to get the most flavor out of the meat.
Remember, it’s very important to follow the directions and suggestions in a recipe.
So, think about these things, adjust as needed, and get ready for a turkey that’s full of flavor and softness.
Recommended Brining Times By Turkey Size
| Turkey Size (lbs) | Brining Time (hours) |
| Up to 12 | 6-12 |
| 12-16 | 12-16 |
| 16-20 | 16-24 |
| 20-24 | 24-36 |
| 24 and above | 36 and above |
To get the best results, the brining time must be based on the size of the turkey. Let’s take it apart:
For a small turkey that weighs 10 to 12 pounds, you should brine it for 8 to 12 hours.
This makes sure the bird is juicy and tasty, so your guests will want more. If you have a middle turkey that weighs between 14 and 16 pounds, brine it for 12 to 16 hours.
This longer soak time lets the flavors get deeper into the meat, making for a moist and tasty main dish.
Be ready to brine for 20 to 24 hours if you have an extra-large bird that weighs 22 to 24 pounds. With a little patience, you can make a turkey that is juicy, soft, and will be remembered forever.
Remember that these times are just suggestions, and you can change them based on what works best for you.
Get ready to impress with a properly brined turkey that steals the show and makes your holiday meal one to remember.
Are There Alternative Brining Methods For Turkey?
When it comes to brining a turkey, you don’t have to do it the usual way with water. Check out these other ways to cook that offer different tastes and textures:
1- Dry Brining:
Put in the fridge for 24 to 48 hours and watch the magic happen.
With this method, the skin gets nicely seasoned and crisp, and the meat stays soft.
2- Brining By Injection:
If you want to be more precise, you can inject a brine solution straight into the turkey’s muscles.
This method makes sure that the taste goes all the way through the bird.
Use a marinade injector to spread a mixture of herbs, spices, and liquids that will add flavor, and then roast the meat.
3- Combination Brining:
Use both wet and dry brining together to get the best of both worlds.
Use these other ways to brine your turkey to take it to a whole new level of taste.
Choose the way that works best for you, and get ready to wow everyone with a turkey that stands out.
Risks of Over-Brining
While brining can work wonders for your turkey, over-brining can lead to undesirable consequences. Here are the risks to be aware of and tips to avoid them:
1- Negative Effects On Texture:
When meat is brined for too long, it can become too soft or mushy.
When proteins are exposed to salt for a long time, it can break them down too much, making the structure less desirable.
2- Negative Effects On Flavor:
If you brine the turkey for too long, it can become too salty and hide the natural tastes. It’s important to find the right mix and avoid making the food too salty.
To Avoid Over-Brining:
- Follow the recommended soaking times for the size of your turkey. Don’t think that longer is always better, so don’t try to go over the suggested time.
- If you don’t want your food to be too salty, you could use a milder pickle or less salt in your brine solution.
- Keep an eye on the process of brining and taste it every so often. If the tastes are getting too strong, you should take the turkey out of the brine.
By keeping these tips in mind and being aware of the risks, you can avoid the problems that come with over-brining. Find the right mix, and you’ll be able to enjoy a turkey that is both tender and full of flavor.
Explain Step By Step Procedure Of Oven-Roasting A Brined Turkey.
Follow this step-by-step guide to roast a brined turkey to perfection:
1- To Prepare The Turkey
Take it out of the water and give it a good rinse. To make sure it cooks evenly, dry it with paper towels and let it sit at room temperature for about an hour.
Set your oven’s temperature to what the recipe says, which is usually around 325°F/165°C.
2- Cooking Time And Temperature:
Use the weight of your turkey to figure out how long it will take to cook.
Most of the time, it takes about 13 to 15 minutes per pound.
Put the turkey’s breast side up on a rack in a cooking pan.
Put the meat thermometer in the thickest part of the thigh without touching the bone. Roast the meat until it gets an internal temperature of 165°F (74°C).
3- Basting The Turkey:
Basting adds taste and helps keep the turkey moist. Use a baster or a spoon to drizzle pan juices or melted butter over the turkey every 30–45 minutes.
This gives the skin a beautiful golden brown color and makes the whole thing taste better.
4- Tips For A Juicy And Flavorful Turkey:
If you follow these steps, your oven-roasted brined turkey will be the star of the table. Your guests will rave about how good it tastes and how tender it is.
FAQs
How Long Can A Brined Turkey Be Stored In The Refrigerator?
After brining your turkey, it’s important to keep it in the right way. A turkey that has been brined can be kept in the fridge for up to 2 days before it is cooked.
Make sure it is kept in a jar with a lid or tightly wrapped in plastic wrap to keep it from getting dirty or losing moisture.
Keep the temperature of your refrigerator at or below 40°F (4°C) to keep food safe. After the brined turkey has been cooked, you should eat any leftovers within 3–4 days.
So, plan your brining time wisely and eat your perfectly brined turkey within the time you’re supposed to store it for the best results.
Can A Frozen Turkey Be Brined?
It’s not a good idea to brine a frozen turkey. Before brining, the turkey must be fully thawed to make sure that the flavor gets into the meat and that it is safe to eat.
Brining a frozen turkey can lead to uneven brining, the growth of germs, and a less-than-perfect result.
To brine your turkey, you must first let it thaw in the fridge, following safe freezing instructions.
Once it’s all the way thawed, you can start brining it, which will bring out all of its taste and tenderness. Don’t rush the process.
If you want the best results from your brined turkey, you need to be patient.
What Is The Difference Between Kosher Salt And Table Salt?
The biggest difference between kosher salt and table salt is how they feel and what they are used for.
Kosher salt has bigger, coarser grains, which makes it perfect for removing wetness from meat while brining.
It’s also easy to sprinkle and control how much is used because of how it feels.
Table salt, on the other hand, has smaller grains and is more packed, so it dissolves more quickly.
It’s used for cooking and baking all the time. Both kosher salt and table salt are made of sodium chloride, but they have different textures and uses.
Kosher salt is often used for brining, while table salt can be used in many different ways in cooking.
Choose the salt that works best for your plan and what you want to achieve.
Can I Reduce The Saltiness Of A Brined Turkey?
There are a few ways to make your brined turkey less salty if it turns out to be too salty.
You can try soaking the turkey in a pot of fresh water for about an hour.
This can help take out some of the salt. To balance the flavors, you could also serve the turkey with side foods that aren’t salted or have low amounts of salt.
A squeeze of citrus juice or a bit of sweetness, like honey or maple syrup, can also help balance out the saltiness.
Always remember that balance is the key to changing flavors, so taste as you go and make changes as needed.
Can I Brine A Turkey In A Plastic Bag?
Absolutely! A popular and easy way to brine a turkey is to put it in a plastic bag.
Use a strong, food-grade plastic bag that won’t leak, like a brining bag, to keep things safe and stop any leaks.
Put the turkey in the bag, add the brine, seal it tightly, and make sure the turkey is completely covered.
During the soaking process, the bag makes it easy to store and move the meat around in the fridge.
Just remember to throw away the bag when you’re done and follow food safety rules. With brine in a bag, it’s easy to bring out all the flavor in your turkey.
Conclusion
Brining is the secret ingredient that makes your turkey more juicy and flavorful than ever before when you roast it.
So, how long should you let the turkey sit in the brine before roasting it? Find the right mix to find the answer.
To figure out the best brining time, you should think about things like the size of the turkey, the amount of salt in the broth, and your own preferences.
The goal is to make a moist, tender, and delicious masterpiece, whether it’s a small turkey that takes 8–12 hours or an extra-large bird that takes 20–24 hours.
Make sure to follow the steps in the recipe and change things as needed.
Accept the soaking process, let the flavors do their thing, and get ready to wow your guests with a turkey that is better than they could have imagined.
Also Read: